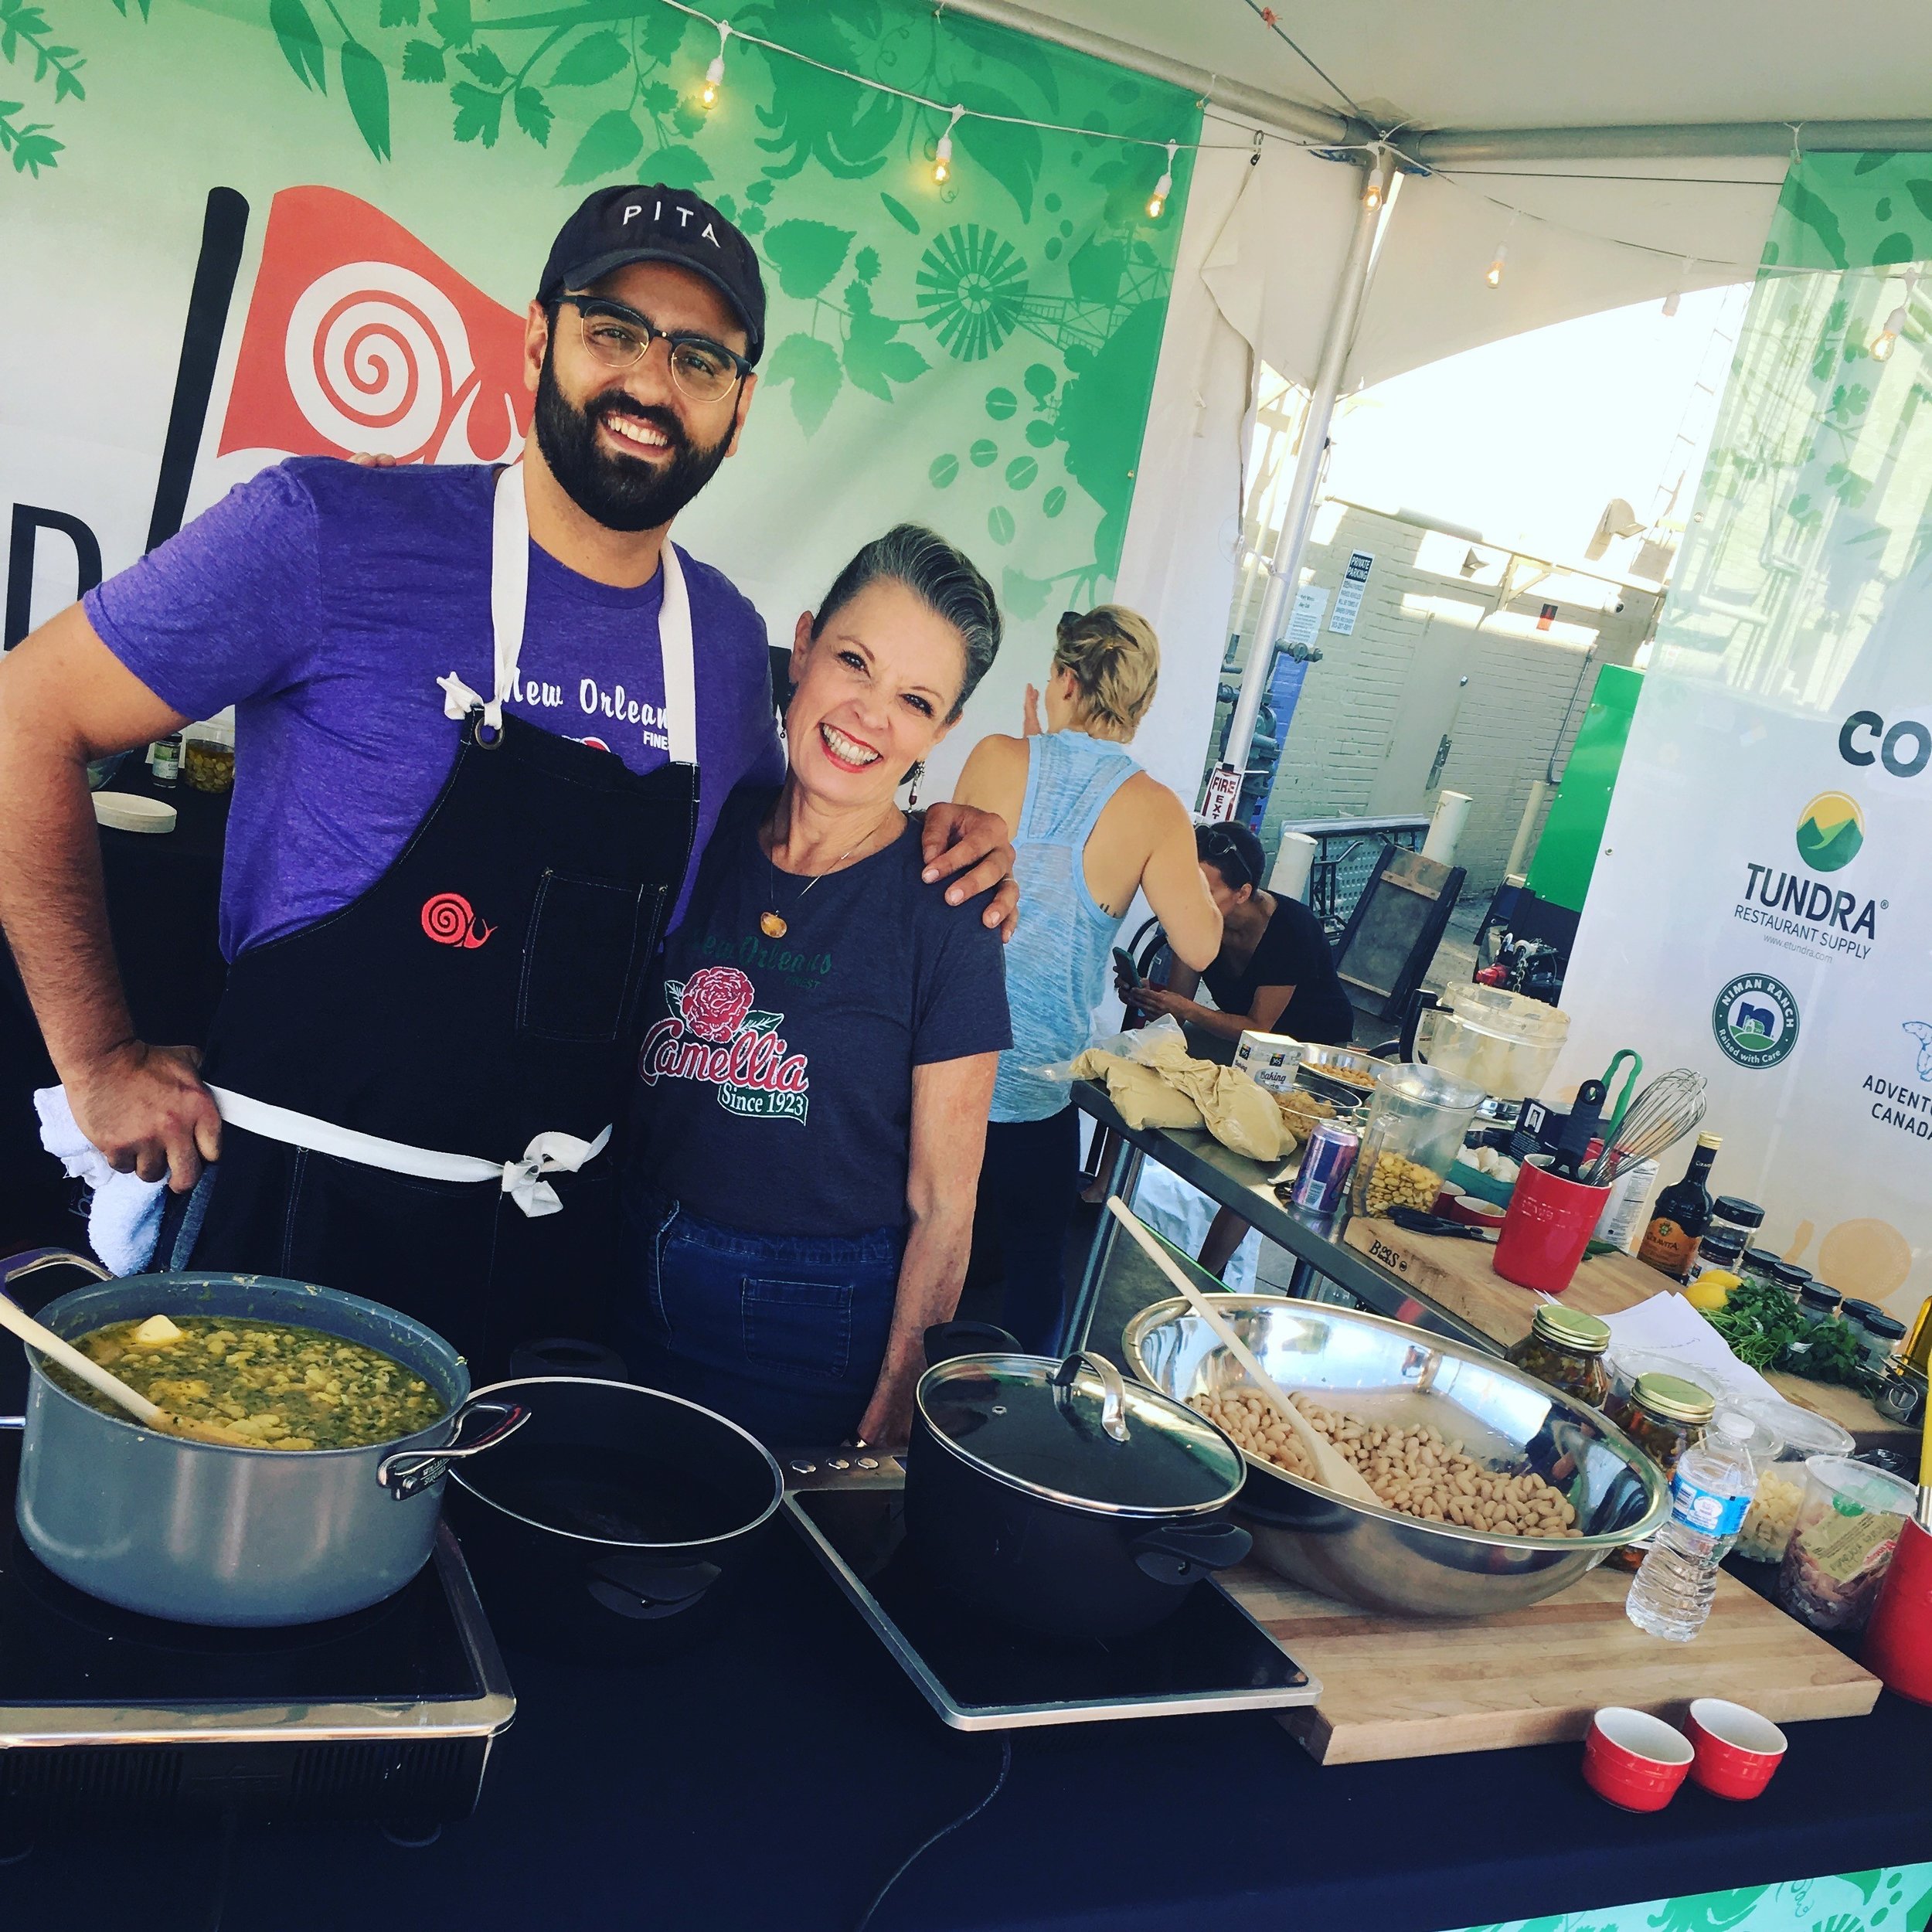
Alon Shaya's Pita Bread
Serving Size: 8 pita
Dough
Ingredients
1 ½ cups warm water
2 tablespoons canola oil, plus more for your bowl
1 teaspoon instant yeast
4 cups bread flour (480 grams), plus more as needed
¼ cup all-purpose or bread flour (30 grams)
3 ½ teaspoons Morton kosher salt
Directions
Combine the water, canola oil, and yeast in a large mixing bowl (if you have a stand mixer, use that bowl) and let sit for 5 minutes.
Add the bread flour. If you have a stand mixer, fit it with the dough hook and knead on low speed for 3 minutes, until a dough starts to form. Pause occasionally to scrape down the sides and bottom if the flour is clinging to the bowl. If you’re making the dough without a stand mixer, start by stirring with a wooden spoon and then use your hands to knead it in the bowl until the flour incorporates. Loosely cover the bowl with plastic wrap or a dish towel and let rest for 30 minutes.
Add the remaining ¼ cup flour along with the salt and continue to knead, in your stand mixer or by hand in your mixing bowl, until a smooth ball forms. The dough will be pretty tacky, but if it’s so sticky that you can’t work with it, add more bread flour, 2 tablespoons at a time.
Transfer the dough to a clean, non-floured work surface and roll it into a ball. Lightly wipe the inside of a large bowl with canola oil and place the dough inside, flipping it once or twice to coat. Cover the bowl with plastic wrap or a clean dish towel and let the dough rise at a warm room temperature for 1 hour.
After 1 hour, the dough will be stretchy but very soft. Leaving it inside the bowl, pull both sides over the center. Rotate the bowl a quarter-turn and do this one more time, then flip the whole mound of dough upside-down and cover. Let rise for 1 hour.
Repeat this series of folds one more time, then tightly cover the bowl and refrigerate overnight or up to 2 days. The longer the dough refrigerates, the more flavor it will have. After this rise, it’s ready to be shaped either pita; bear in mind that, once it’s shaped, it will need more time for a final rise, so plan ahead.
2. Pita
Ingredients
Canola oil for the pan
1 recipe Dough (recipe above)
All-purpose flour for dusting
Directions
Wipe a bit of oil on a large baking sheet. Dump the dough onto a clean, dry counter and use a bench scraper or sharp knife to cut it into 8 equal pieces; make clean, decisive cuts rather than a sawing motion so you don’t deflate all the air inside.
Work with one piece at a time, keeping the rest loosely covered with a towel so it doesn’t dry out. Cup your hand around the dough with your fingertips and the heel of your hand steady on the counter, almost like you’re holding an air hockey paddle. Roll it in brisk, small circles, creating tension with the countertop that pulls the dough into a smoother, more taut ball.
Space each round of dough a few inches apart, seam side down, on the sheet and roll to lightly coat in oil. Tightly cover the sheet with plastic wrap so the dough doesn’t dry out and let them rise at room temperature for 2 to 4 more hours, until they’re pillowy.
Meanwhile, set a baking stone on the center rack of your oven and turn on the broiler. You’re emulating a 700-degree wood-burning oven, so you need to give the stone a good long while to preheat before you bake.
When the dough is ready, lightly flour a work surface and use a bench scraper or thin metal spatula to coax one piece into your palm; be sure you don’t manhandle it or you’ll force out the pockets of air that formed while it rose. Dust a little more flour on the top of the dough and onto your rolling pin.
With firm, even pressure, briskly roll the dough a few times along its length. Flip it upside-down, rotate it a quarter-turn, and roll it the same way, keeping it as round as possible. Repeat, dusting a little extra flour as needed, until it’s about 6 inches across.
This next part happens fast and furiously, so make sure you have no distractions. Screaming children and natural disasters will have to wait. Use tongs or a good oven mitt to partially pull out the oven rack with the baking stone. Carefully pick up the pita, drape it over your palm, and slap it down onto the stone like you’re giving it a high-five (just be careful not to physically touch the hot stone!). Set a timer for 1 minute and close the oven. Broilers vary in strength but all are quite hot, so don’t turn your back on the oven or the pita may burn. Check on it—it should puff up and build in color, with some beautiful blistered spots. If it’s still pale, close the oven and let it keep baking for 30-second intervals.
Use tongs to flip the pita and let it finish baking with the oven door cracked so you can watch it finish. Pull it out when the second side is as pretty as the first; this can take anywhere from 30 seconds to 2 minutes depending on your broiler.
Bake off the rest of the dough this way; as you get the hang of it, feel free to bake twocpita at a time. Serve these hot or at room temperature.
YIELD: 8 pita

